ME
NU
Weddings | Family | Lifestyle Branding | Digital + 35mm Film
est. 2016
Arizona | California
Beyond
available to travel
message for travel schedule

DIY: Acrylic Signs
January 2, 2023
Well! Last bridal show, everyone asked if I made signs. So, I’ve decided to do this post to show you how! Hopefully, yours are better, I’ve had a fibro flare day, so the nerve endings are making me shake! Follow the directions and good luck!
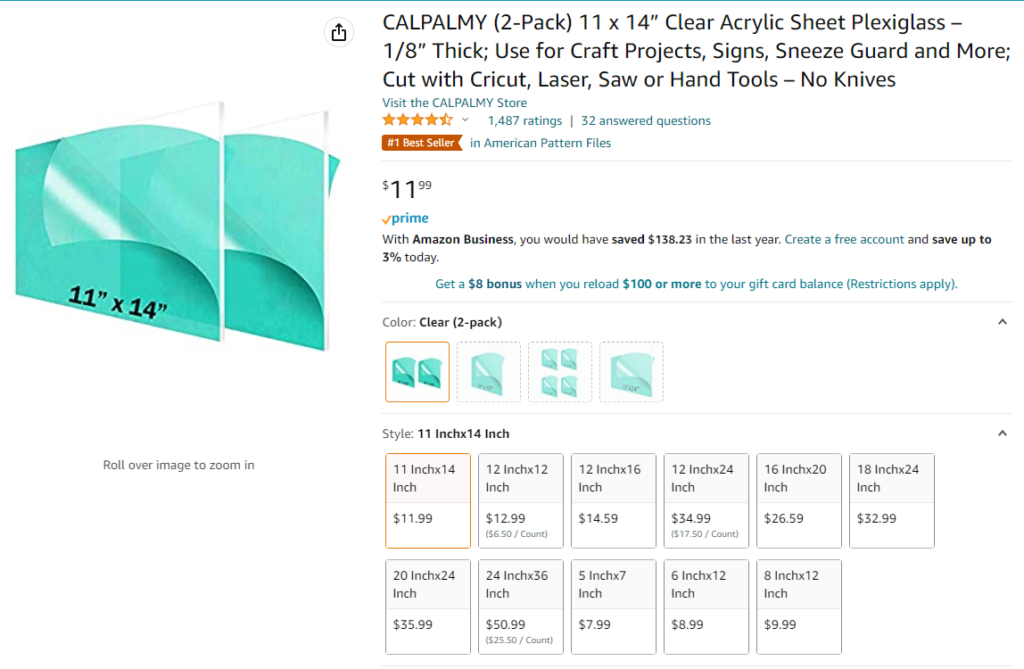
Step 1: Buy your supplies!
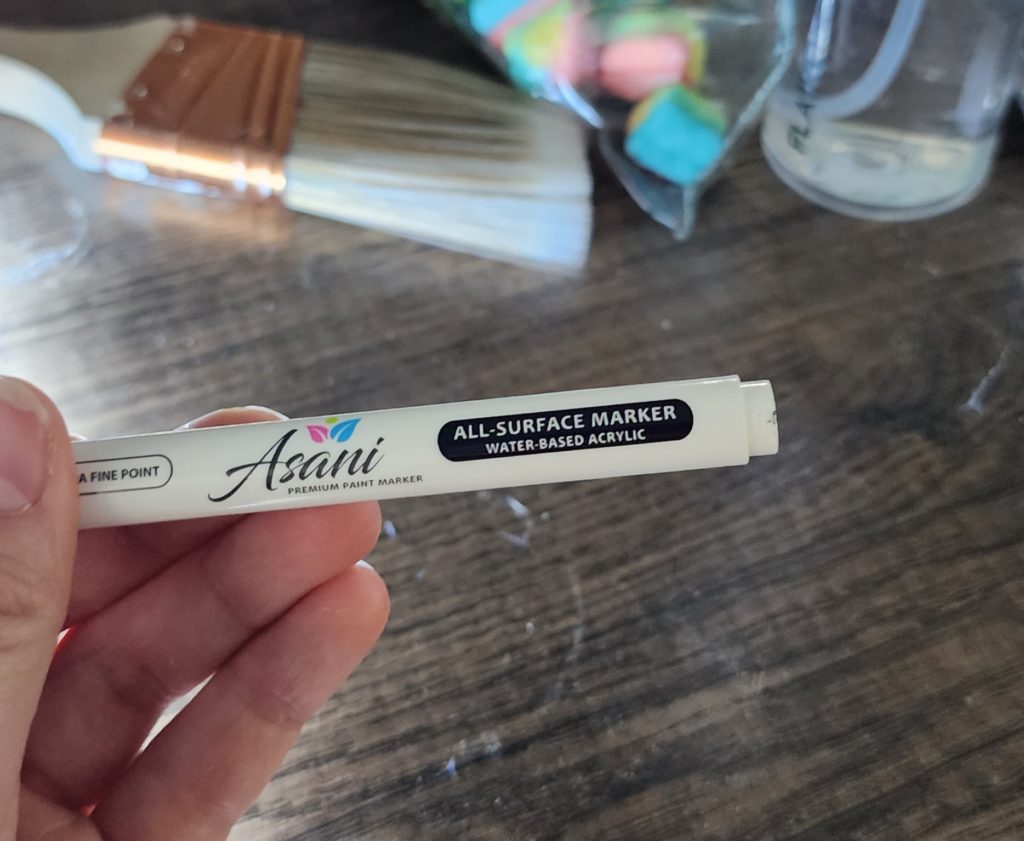
I found my acrylic signs, paint markers, and white paint on Amazon. It’s not too expensive, and there are tons of sizes to choose from, and most are packs of two!
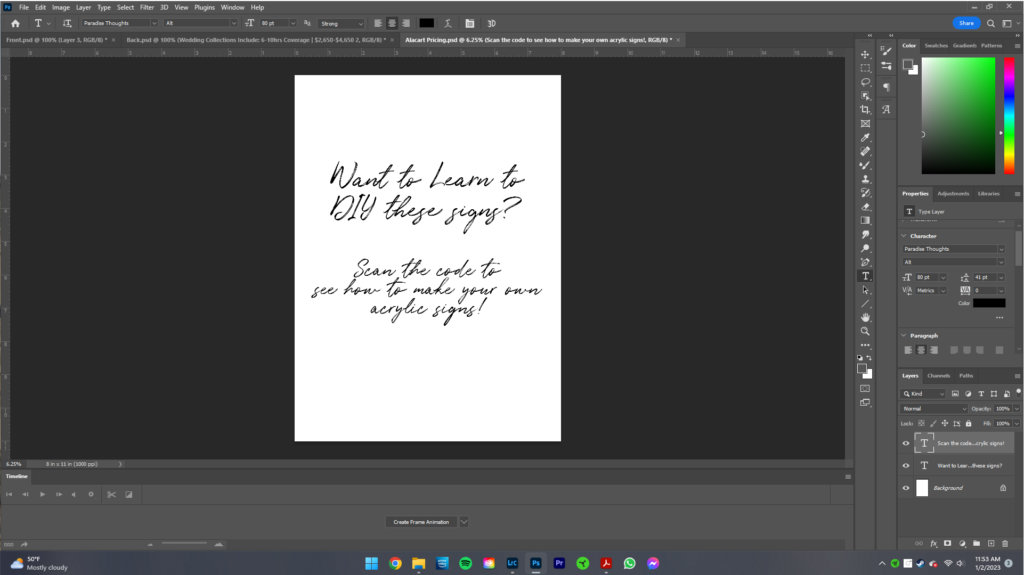
Step 2: Prepare your wording!
So the next thing to do is type out what you want to have on your signs. I use photoshop, but word or adobe acrobat will work fine too. Make sure it’s a font you can trace; if it’s too tricky, your signs won’t look too good.
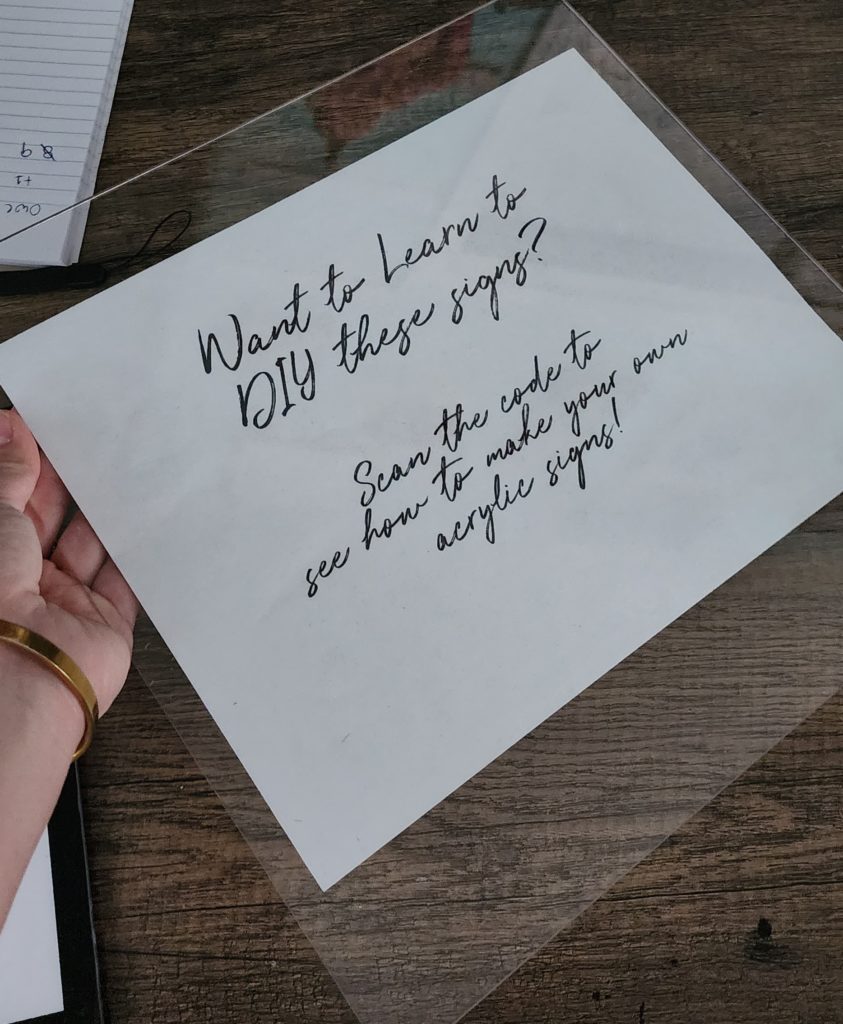
Step 3: Trace!
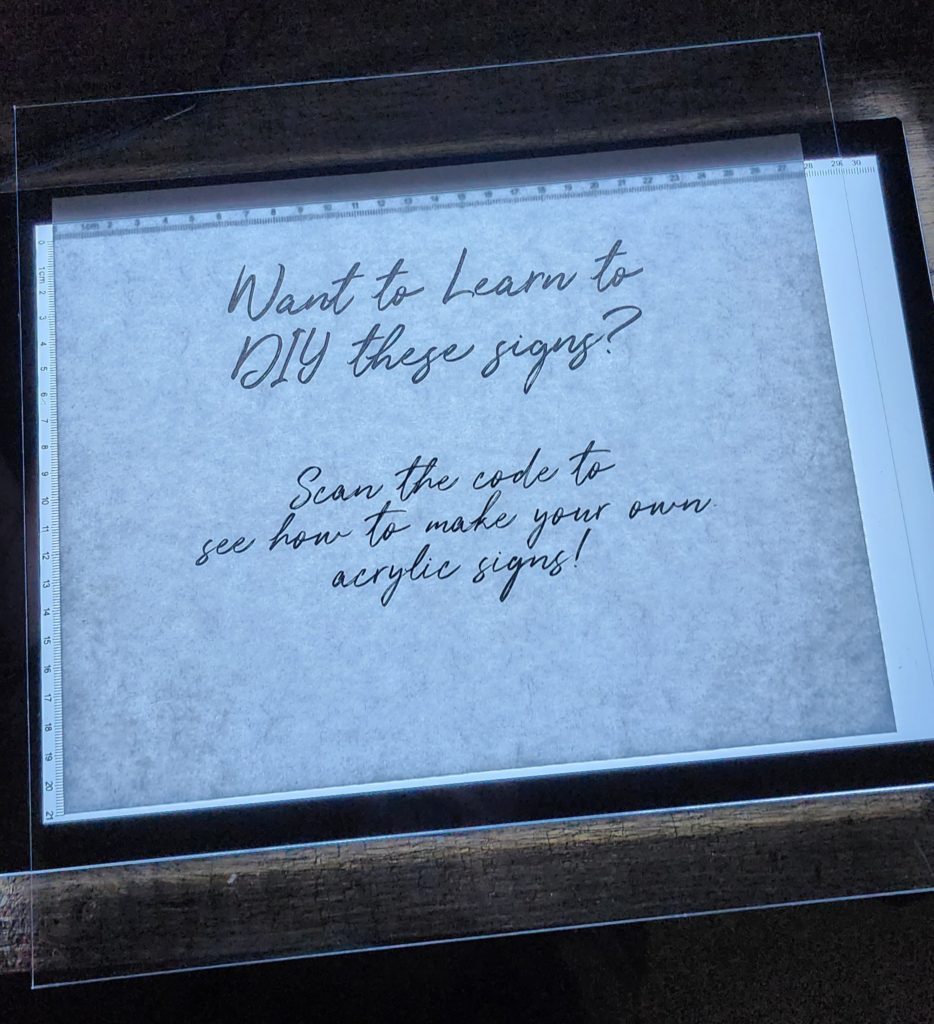
So, I didn’t need to tape the paper to the back of the acrylic, it kind of stuck to the back on its own. But make sure the paper won’t move while you are tracing the letters.
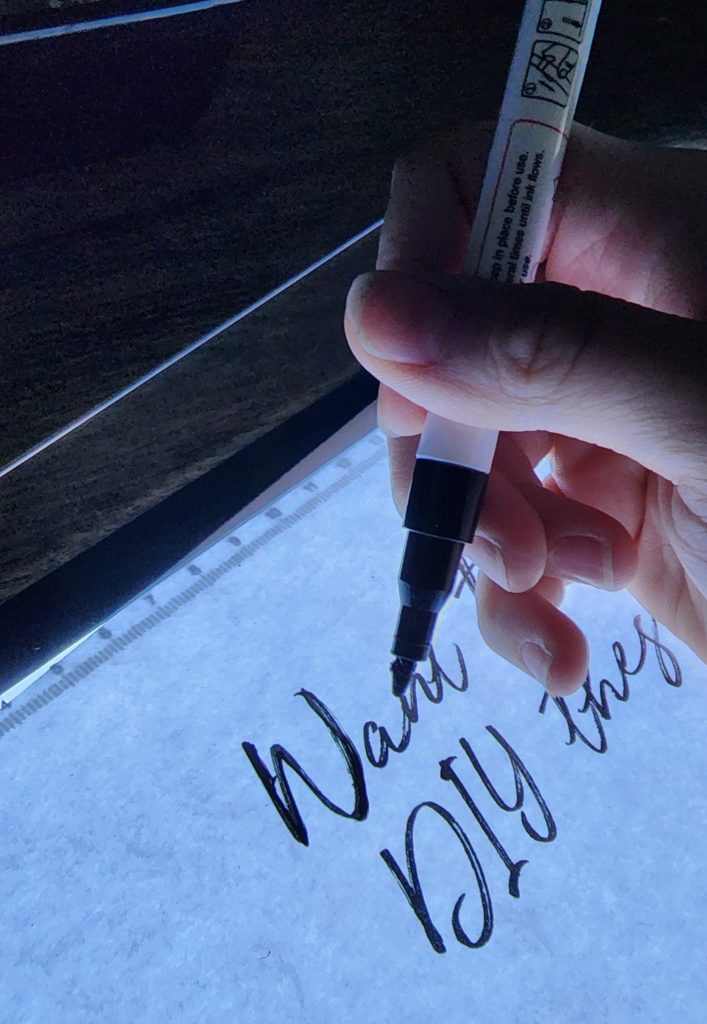
Time to get it done! Take your acrylic marker and make sure you tap the tip on another surface to get the paint out. You will also need to do this in case there is too much pain on the end.
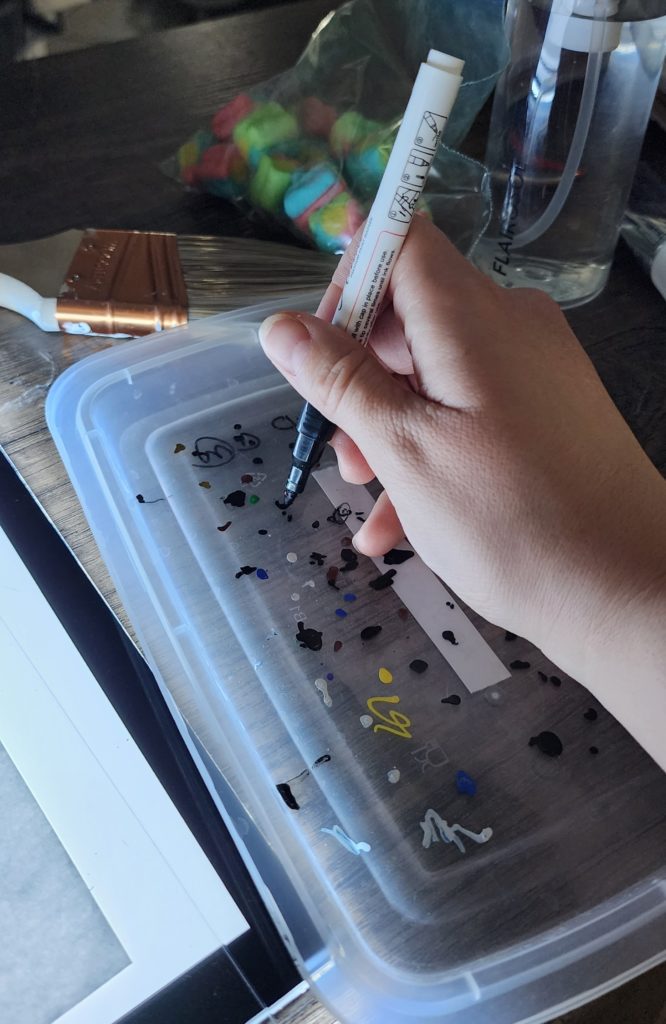
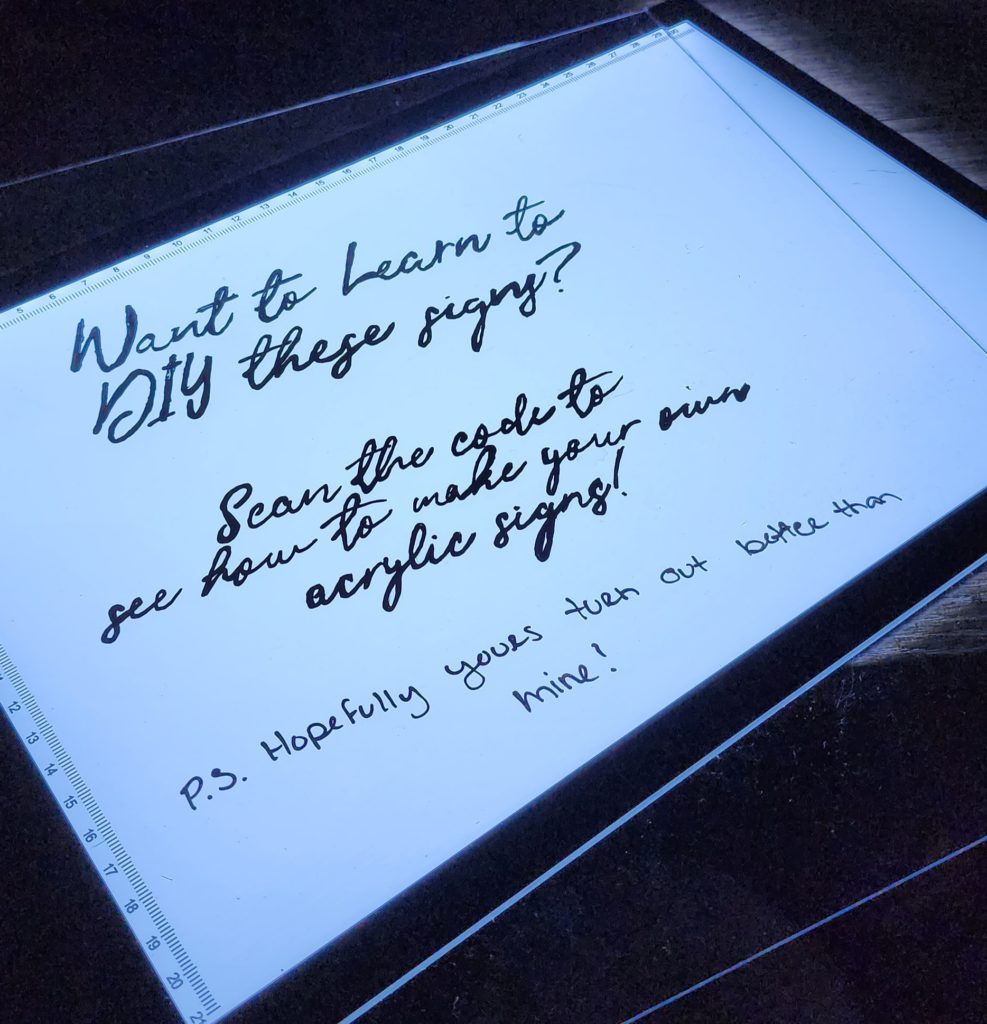
Time to trace! I use a small light board, but if you are doing it in a well-lit room, that works just fine too.

Step 4: Paint the back!
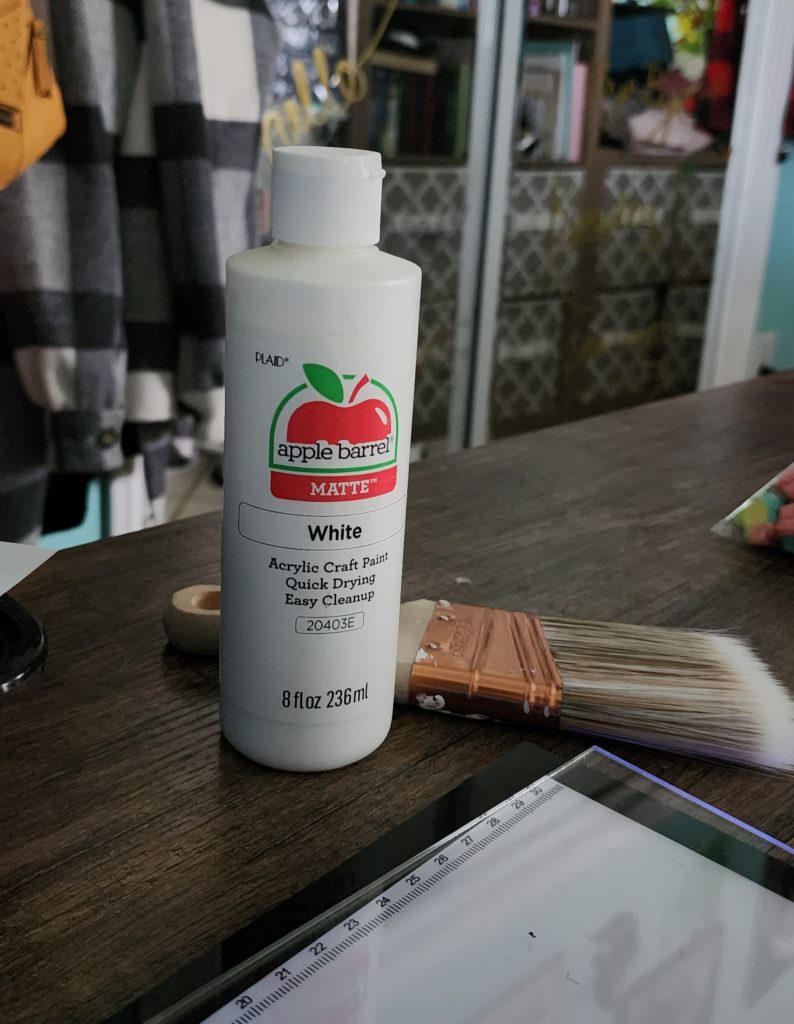
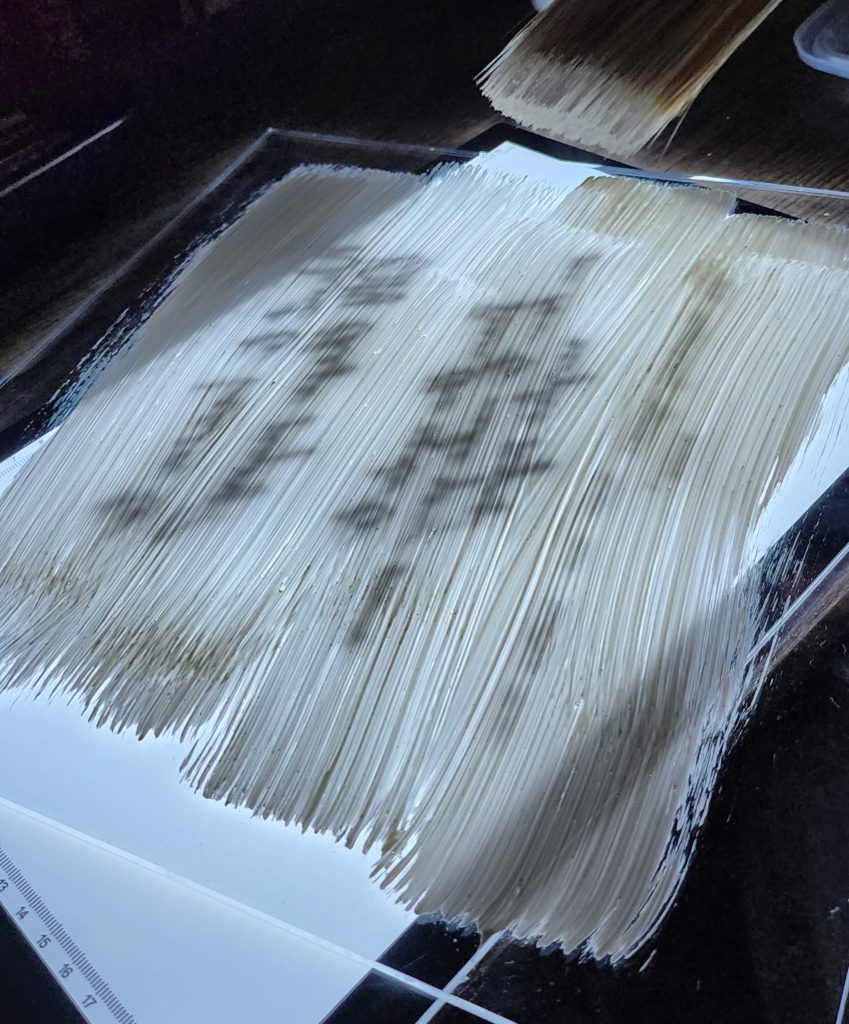
So once the front is all dried up it’s time to paint the back so you can see the letters! You can use whatever color works best for you. I used white for this sign as it worked better for the show.
You’ll need a larger pain brush in order to get it to look right. Something like the image below.
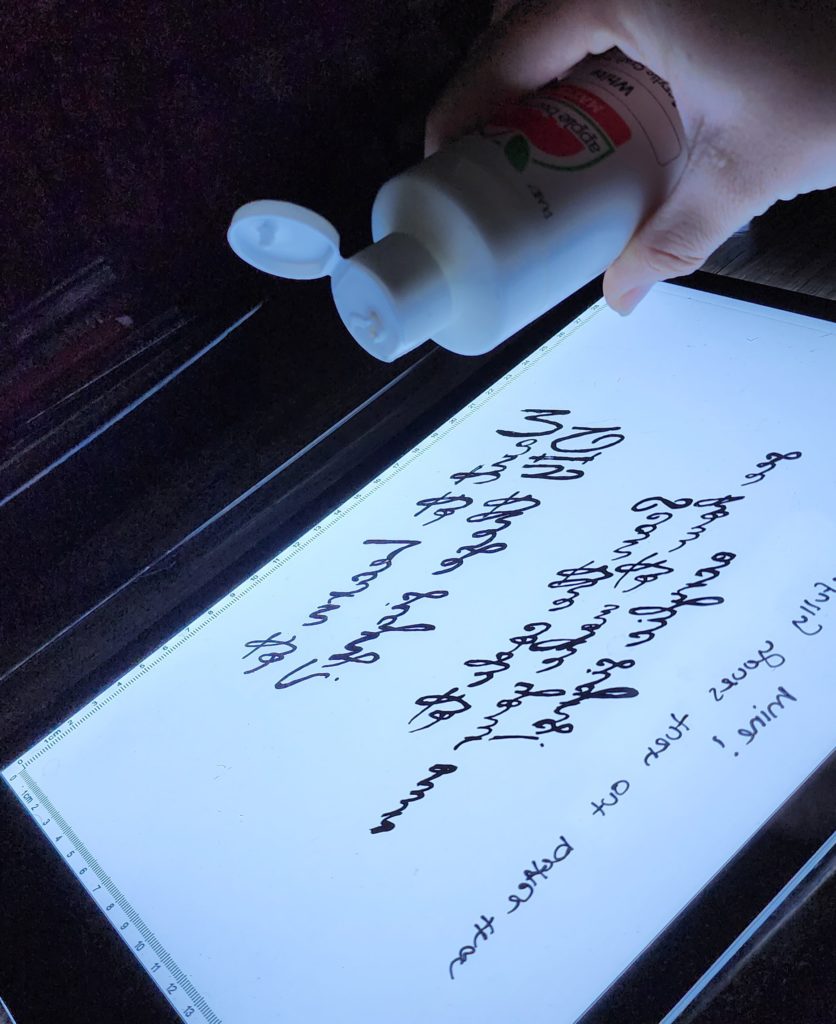
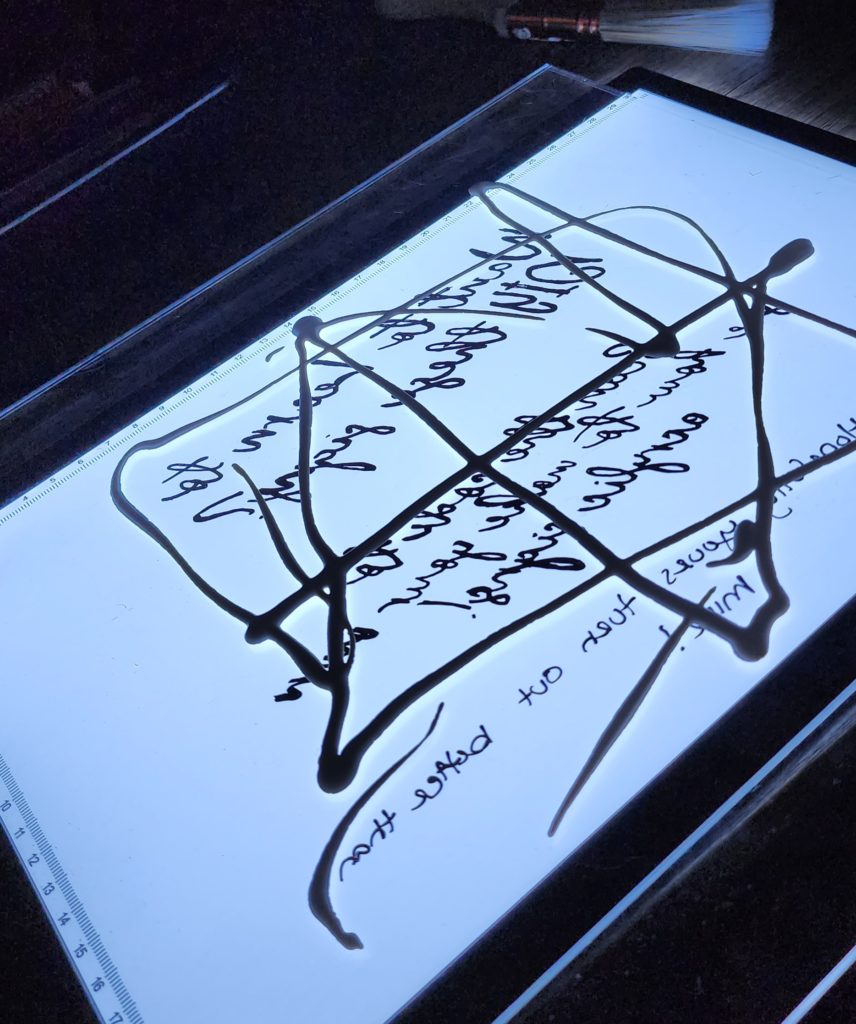
Put the paint in a “star” shape on the back of the sign. My star is a bit messy, but you get the point!
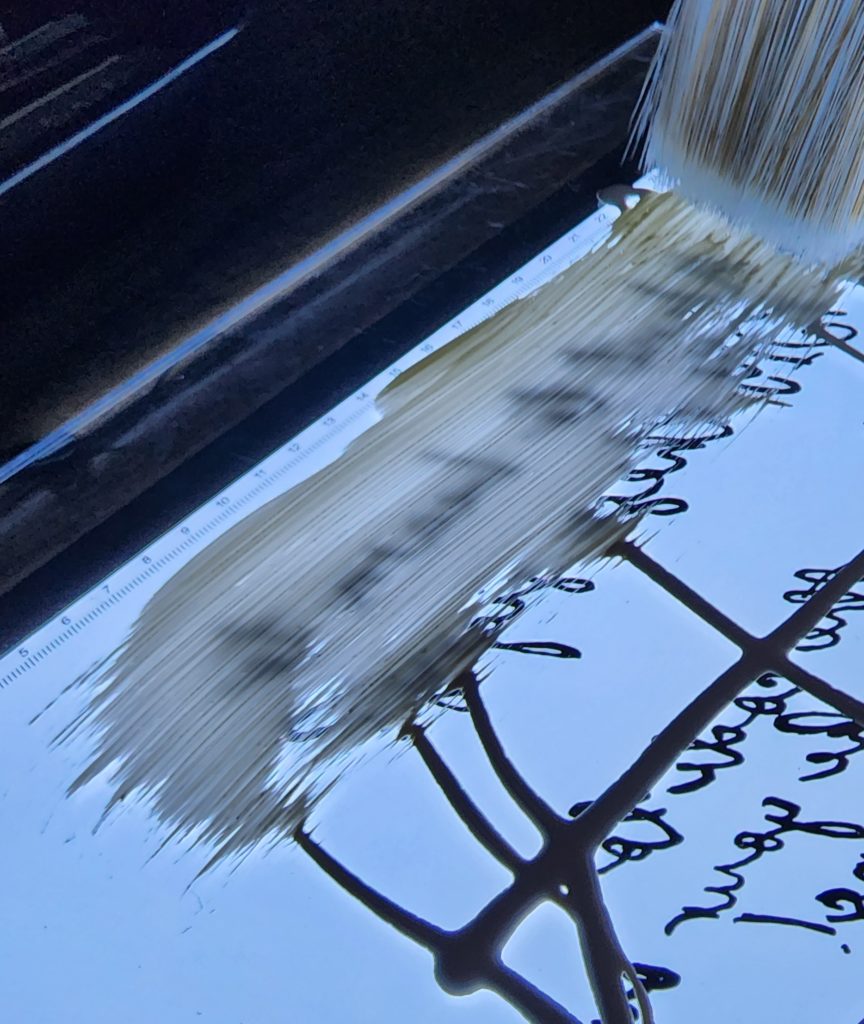
When you start to paint the back, make sure it’s in more of a “flicking” movement. You don’t want the back to look too perfect, just enough to make the wording legible.
Step 5: Let it dry!
Pretty simple, make sure your brushes are clean and your sign is sitting somewhere where it won’t get messed up while it dries. It should dry quickly assuming you didn’t use too much paint.
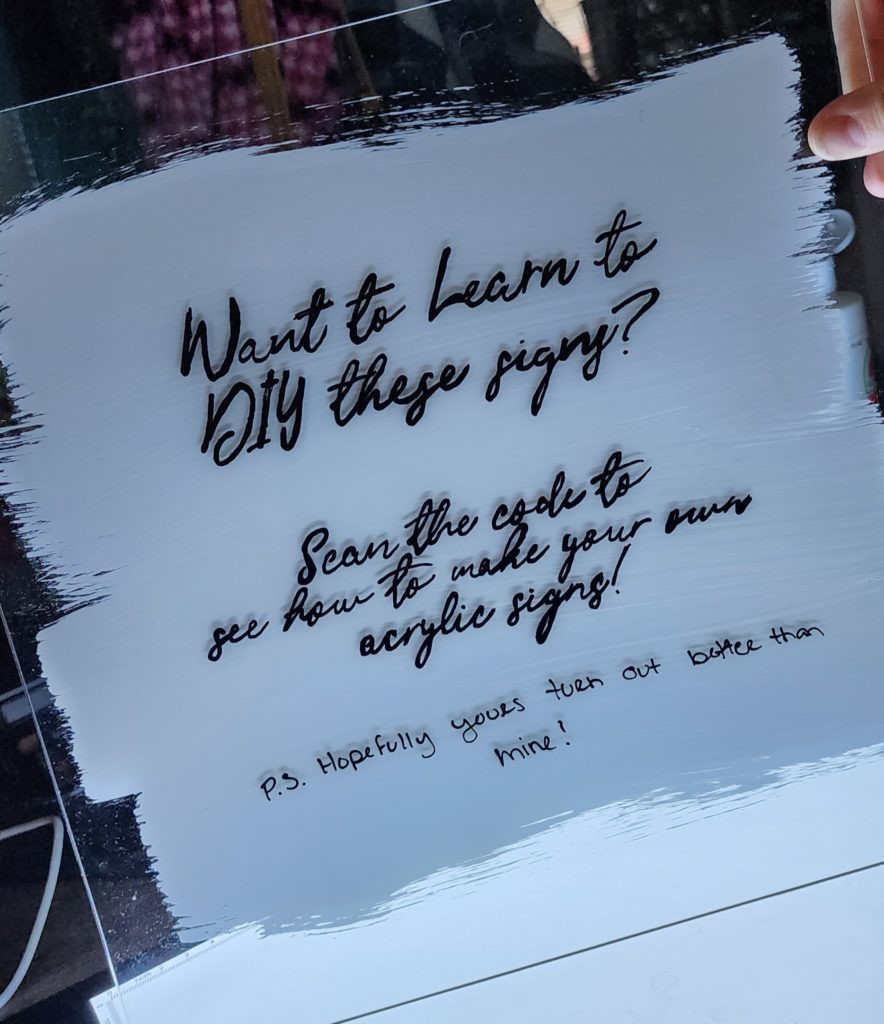
Thank you for reading! I hope this helps you out! And congrats on your engagement! Best of luck finding all your vendors!

PLEASE COMMENT BELOW